How to Sew a Rectangle Jelly Roll Rug (Beginner Step-by-Step Tutorial)
If you've been wanting to sew a rectangle jelly roll rug but have been putting it off because it looks complicated, I hope this tutorial gives you the confidence to give it a try.
If you can sew a straight line, I'll help you make something beautiful.
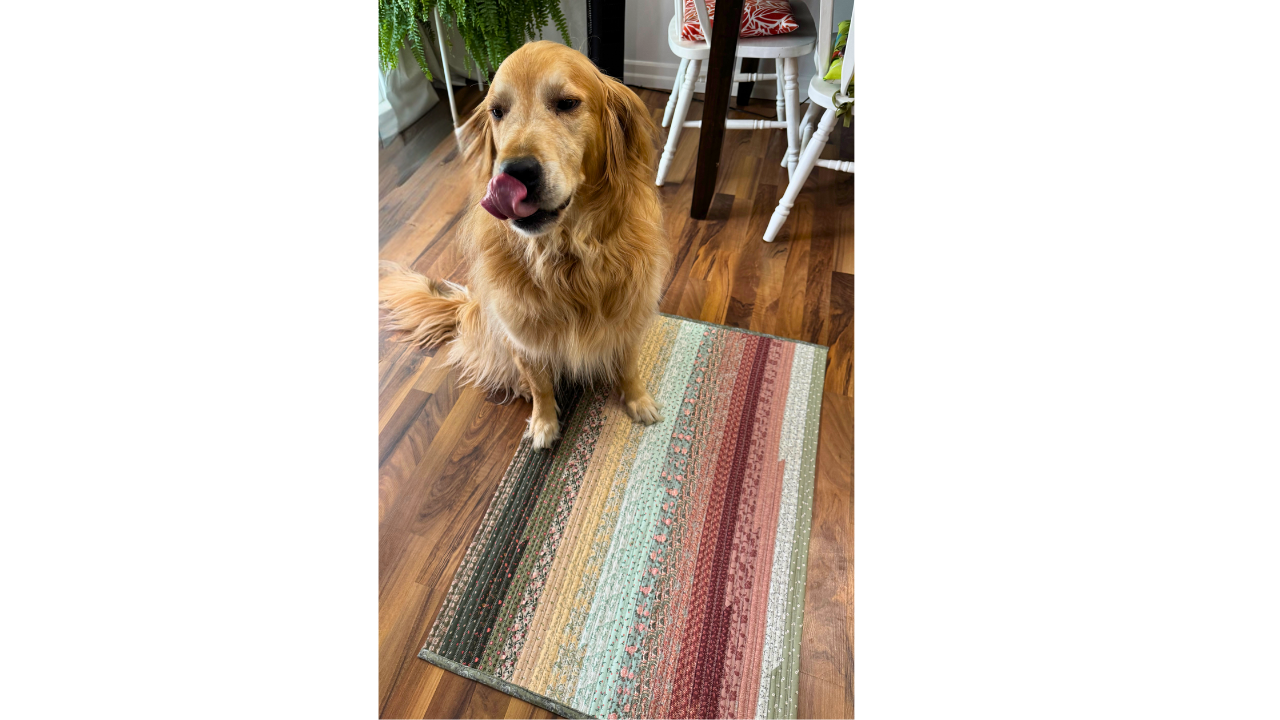
Quick Answer
Sewing a rectangle jelly roll rug is easier when you break it into small steps:
Sew your jelly roll strips together.
Sew the fabric tube (hint: the Clover Tool makes this really easy).
Cut the tube into equal lengths.
Sew the tubes together in sections.
Trim the edges.
Bind the outside edge.
The biggest mistakes beginners make are cutting the tubes too short, forgetting to save a strip for binding, and accidentally creating too much curve while sewing the rows together.
Step 1: Sew the Jelly Roll Strips Together
Start by sewing all of your jelly roll strips together into one long strip.
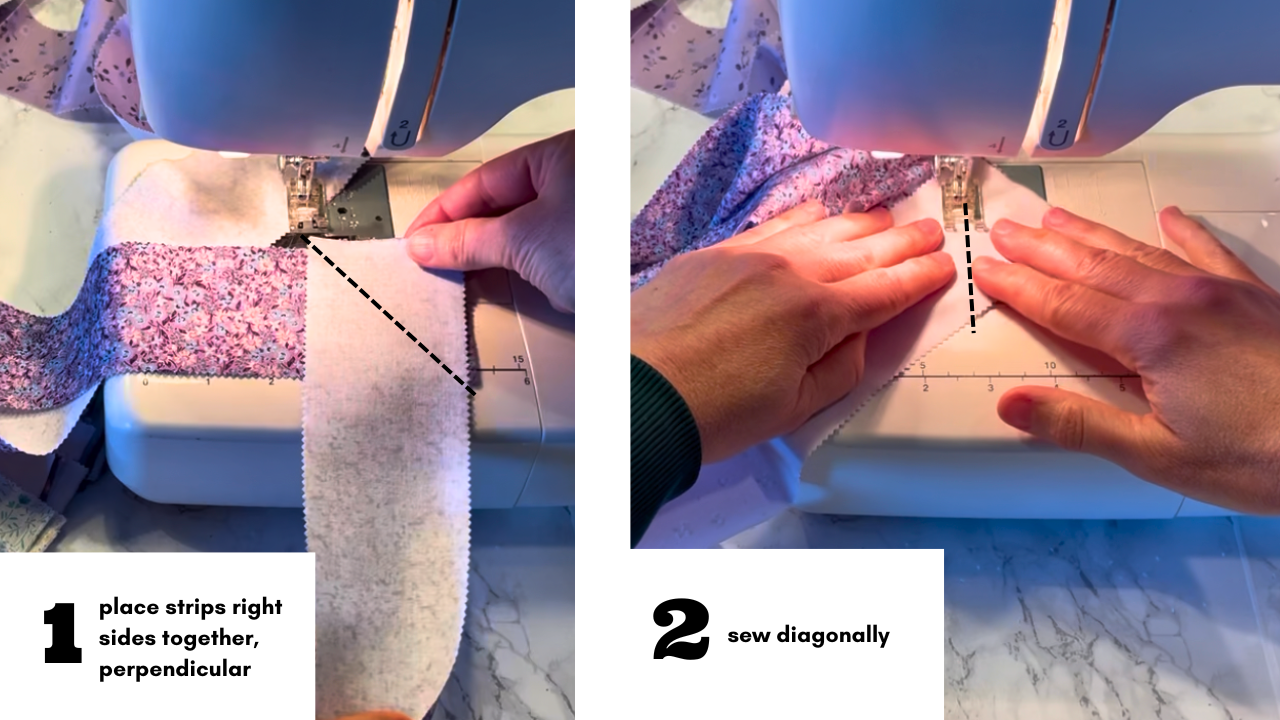
I simply kept the fabrics in the order they came in the roll because I liked the natural colour flow.
One important tip...
Before sewing the final strip into the tube, set one strip aside.
You'll use it later to bind the outside edge of the rug.
It's much easier to remember now than after everything has already been sewn together.
Step 2: Make the Tube
Next, layer the batting on top of the fabric and feed everything through the Clover Tube Maker.
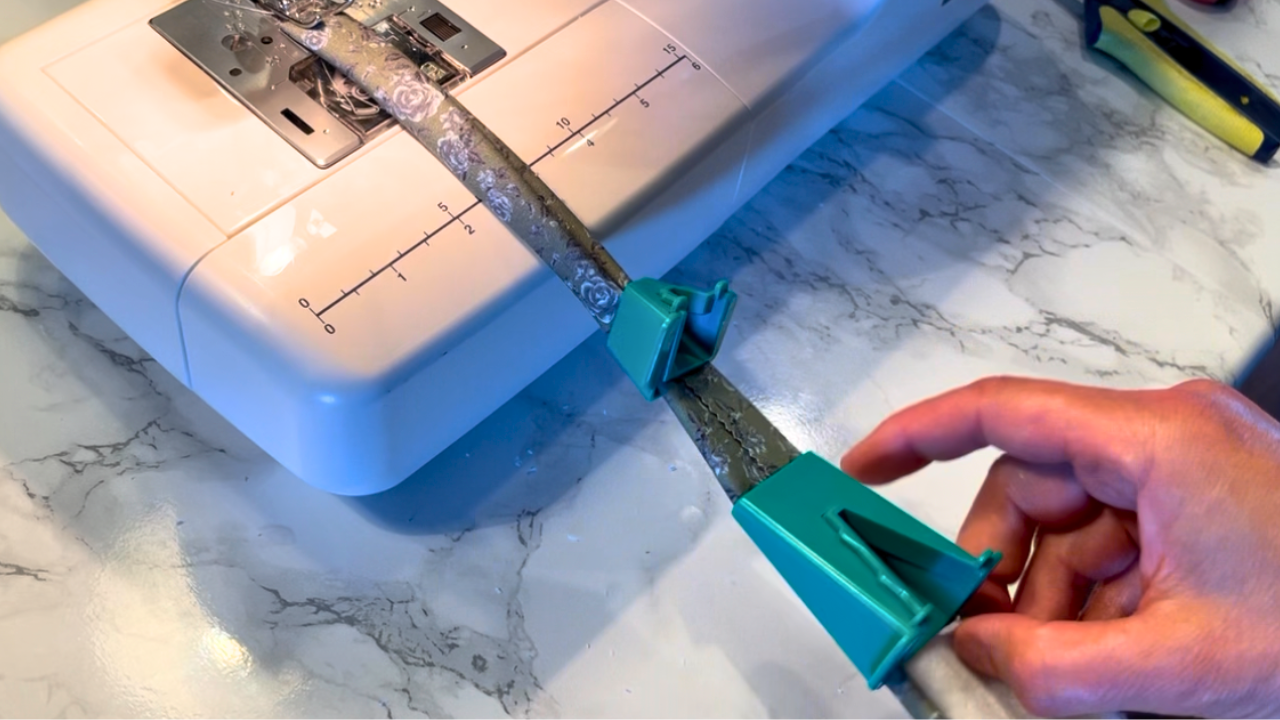
This is my favourite part of sewing Jelly Roll Rugs.
Once you get into a rhythm, it almost becomes relaxing. I usually put on an audiobook and just keep sewing.
I prefer using a straight stitch and sewing close to the edge of the tube because it gives the finished rug a slightly puffier look, but stitching down the centre works just as well if that's the look you prefer.
Step 3: Cut the Tubes
This was easily the most intimidating part for me.
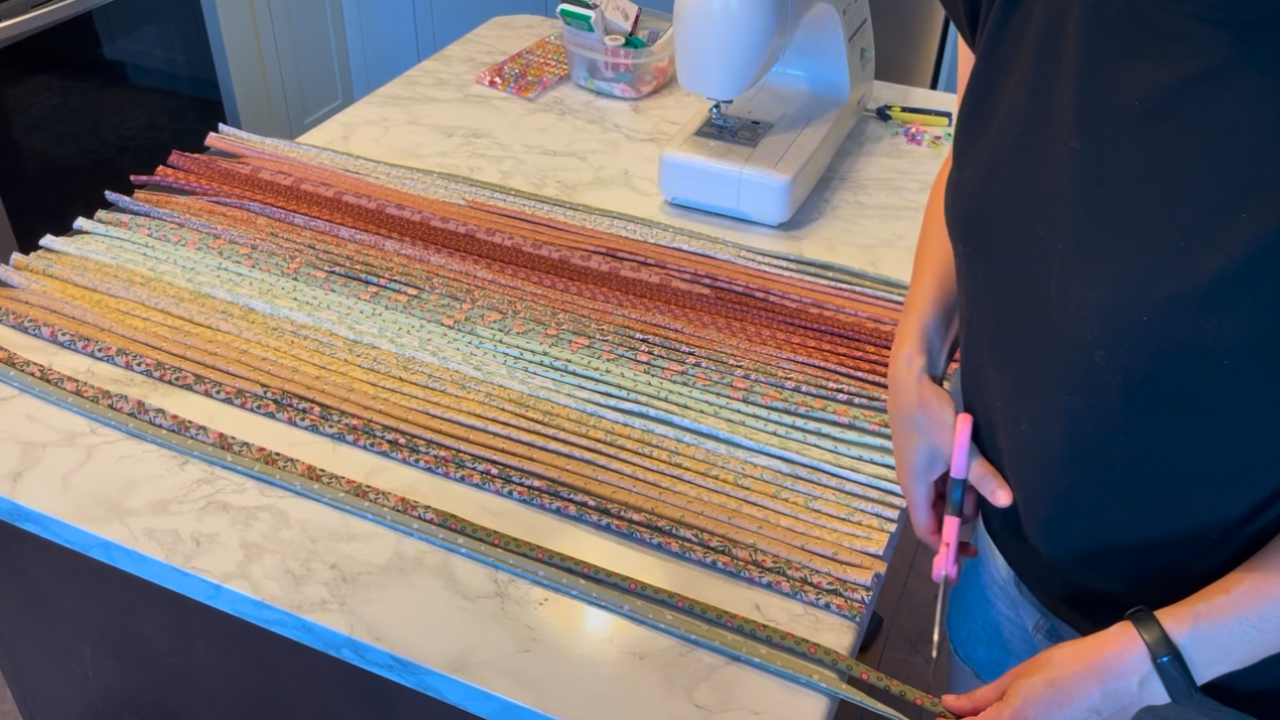
Remember to decide on your finished rug size before cutting.
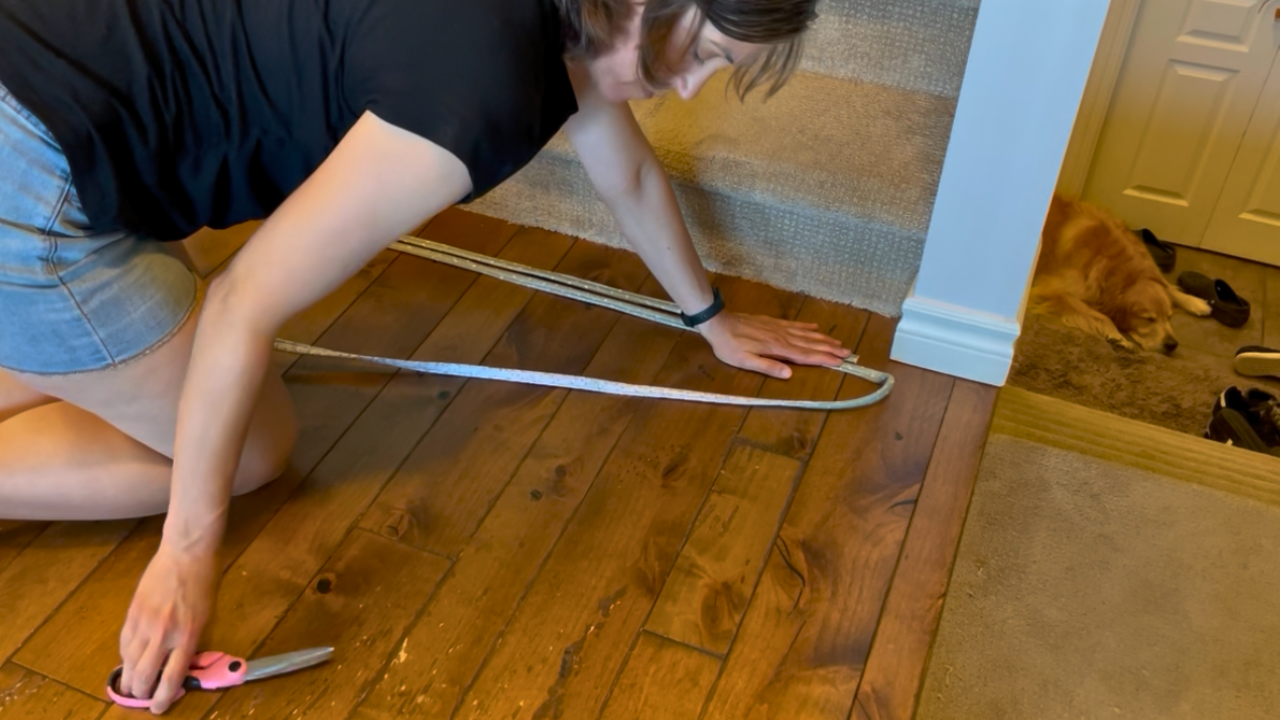
Measure your desired finished width, then cut each tube about 1–2 inches longer to leave room for trimming the edges square later.
Once you've cut the first piece, use it as your template for the rest.
Step 4: Arrange and Sew the Tubes
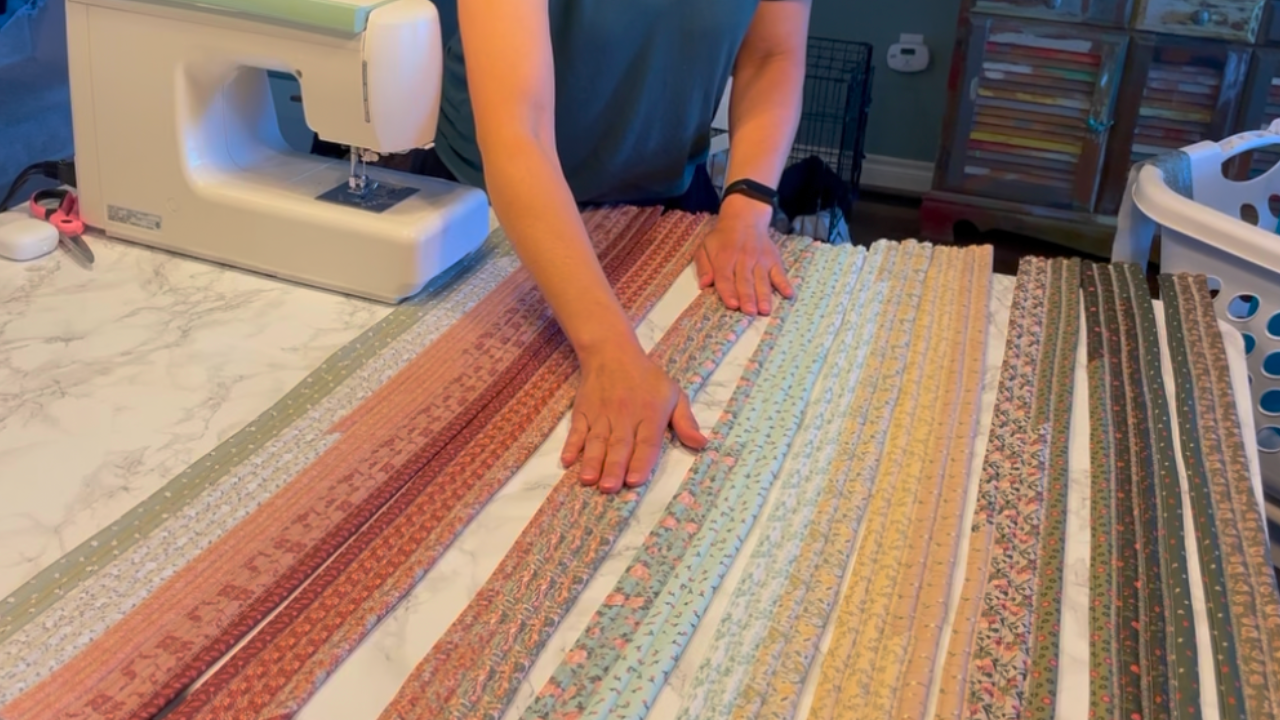
Lay all of the tubes out before sewing.
This gives you one last chance to rearrange colours if you'd like.
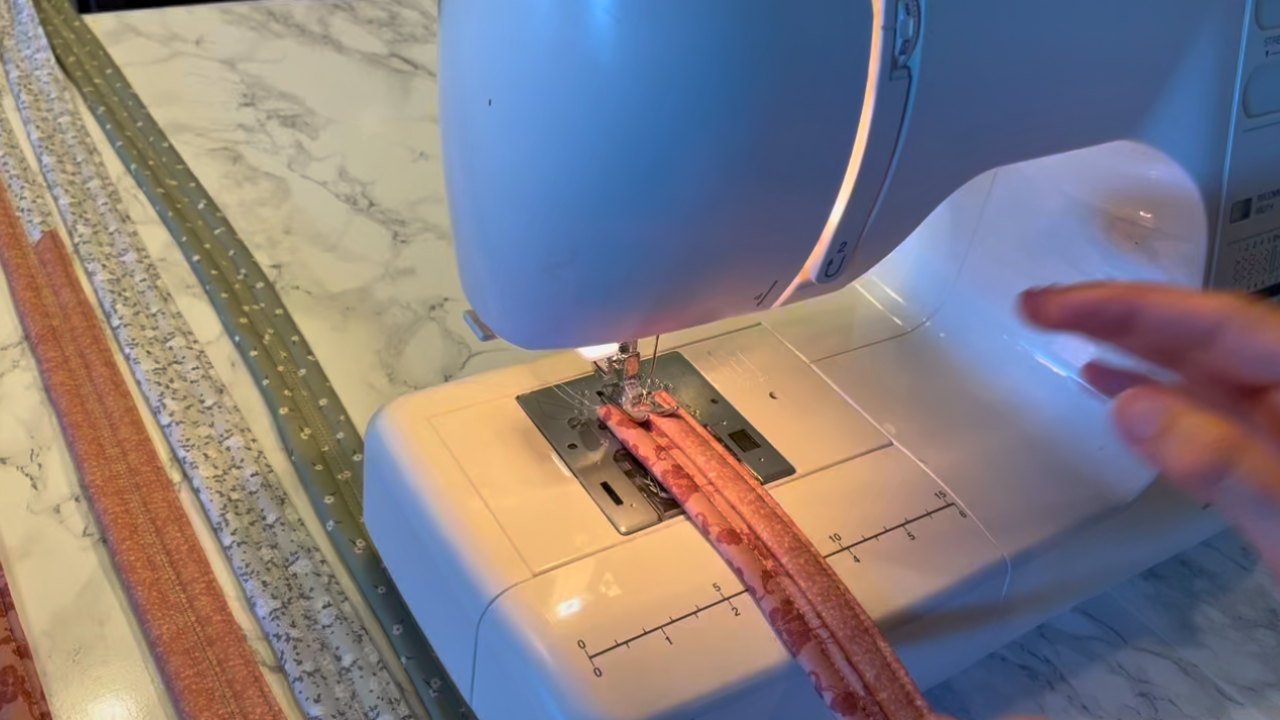
Then you’re ready to sew the rug together! I sew the tubes together with a zig zag stitch.
To help keep your rug straighter:
Sew pairs of tubes together first.
Then sew the pairs into groups of four.
Alternate your sewing direction each time you join sections.
Even with this trick, don't panic if your rug starts curving a little.
Mine did too.
I found that gently guiding the tubes in the opposite direction with my hands while sewing helped straighten everything back out.
Step 5: Trim and Bind
By the time I reached the binding stage...
I was ready to be finished.
After hours of sewing, binding felt like the last little hurdle.
Thankfully, it comes together pretty quickly.
Remember that strip you saved at the beginning?
This is where it comes in.
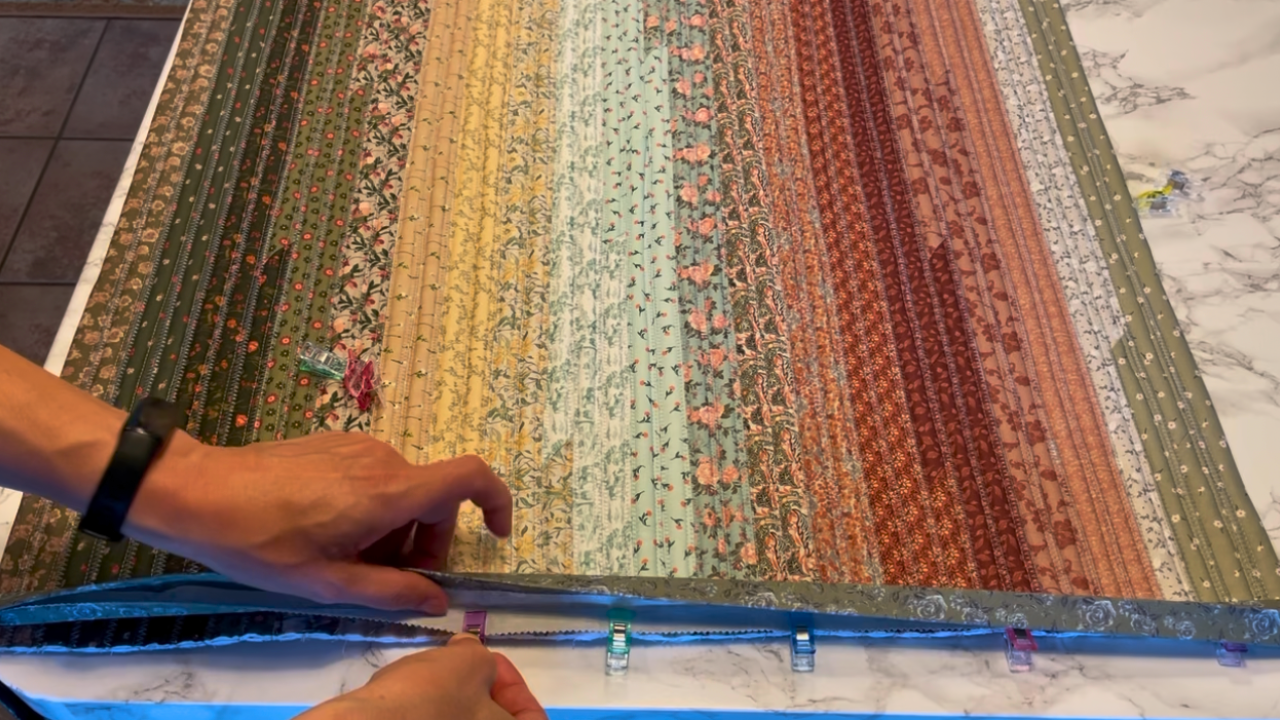
I used the Clover Tool again, this time without batting, to fold that last strip into a binding, and pressed it with an iron. The one strip was long enough to bind both raw edges, so I just cut it in half.
Now pin and sew the binding to the cut edges of the rug, like you would with any binding.
Grab the Free Rectangle Rug Quick Start Guide
Before you start cutting your fabric, grab my free Rectangle Jelly Roll Rug Quick Start Guide.
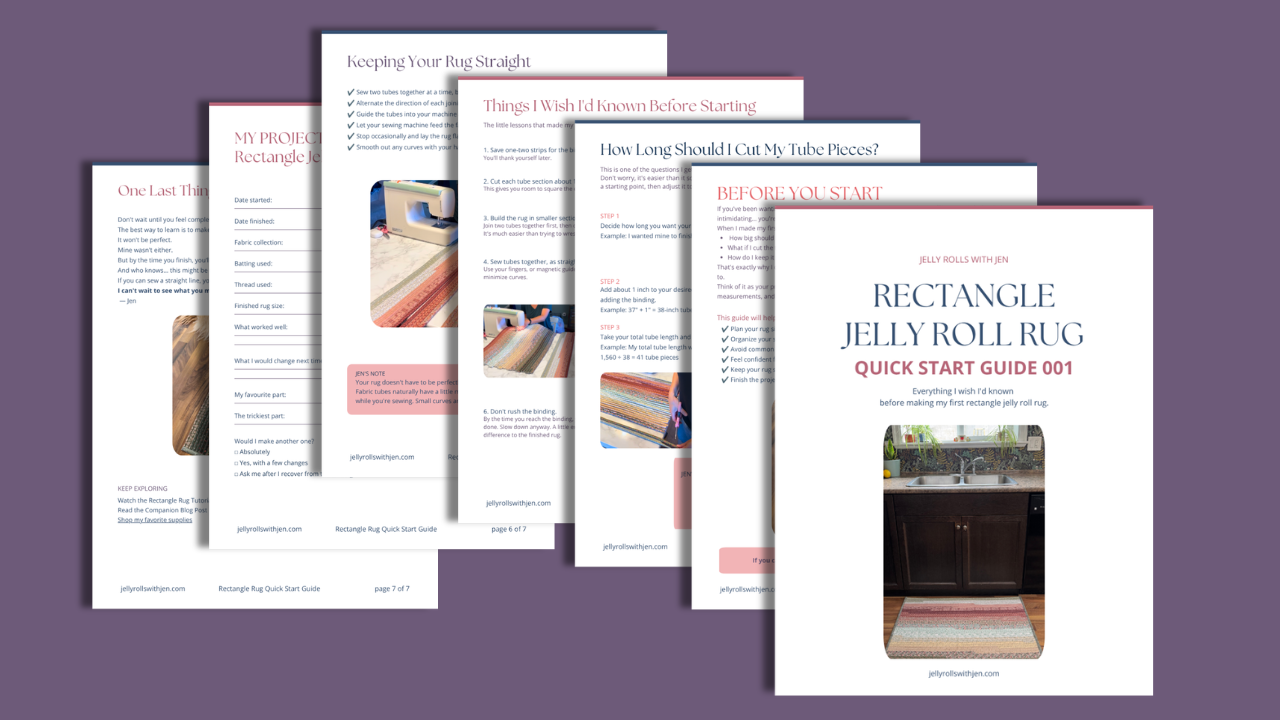
Inside you'll find:
Supply checklist
Rug size estimates
Planning worksheet
Beginner mistakes to avoid
Space for project notes
It's the printable companion guide I wish I'd had before making my first rectangle rug.
Want to Watch Instead?
If you’d rather watch the tutorial on how to sew a Rectanlge Jelly Roll Rug, and see the process as I go, here’s the YouTube video:
Frequently Asked Questions
Can beginners make a rectangle jelly roll rug?
Absolutely. If you're comfortable sewing a straight seam, you can make this project by taking it one step at a time.
Do I need the Clover Tube Maker?
No.
You can make the tube with an iron instead.
The Clover Tool simply saves time and makes the process easier.
How many jelly rolls do I need?
One standard jelly roll makes a nice small rectangle rug, although the finished size varies depending on your strip width, seam allowances, and batting.
Why is my rug curving?
Some curve is completely normal.
Alternating your sewing direction, gently keeping the tubes straight while sewing and smoothing out any curves with your hands helps reduce it.